Friday, August 5, 2011

White chili with chicken and white root vegetables

So lately I have been having digestion and energy issues.  Basically, I am not digesting my food well and am getting very tired (probably because of this).  So, I thought it might be back to go back to basics and start eating more vegetables (again!).  I borrowed Food Matters from Mark Bittman from the library and decided to make this recipe, as I had leftover root vegetables in the fridge.

White Chili with Chicken and White Root Vegetables


Ingredients:
2 tablespoons olive oil
8 oz ground chicken or turkey
Salt and black pepper
2 leeks, trimmed, well rinsed and chopped or 2 onions, chopped
4 parsnips, chopped
1 celery root, chopped
1 large or 2 medium turnips, chopped
2 all-purpose potatoes, chopped
1 tablespoon chopped fresh sage, or 1 teaspoon dried
1 bay leaf
1dried mild chili (like ancho) or 1 tablespoon chili powder
1 tablespoon cumin
Grated zest and juice of one lime
2 cups any dried white beans, rinsed, picked over, and soaked if you like
½ cup chopped fresh cilantro, plus more for garnish
1/2 cup chopped scallions for garnish

Procedure:

1) Cook the ground turkey until it has lost its color.
2) Remove and add onion and sauté until softened, about 3-5 minutes.
3) Add all the remaining ingredients and the chicken (except the lime juice and cilantro) and put in a slow cooker.
4) Stir together, then add enough water to just cover.  Cook on low for 8 hours or so. 
5) Right before you serve it, add the lime juice and the cilantro. 
Enjoy!

I used dried cannelini beans for my white bean.  Since I was using them dried, I decided to experiment with cooking the whole thing in a slow cooker (especially as I always have so much trouble with dried beans cooking through!).  It came out really delicious and lasted me quite a few meals!  The only trouble I had was that it wasn't spicy enough for me!  I ended up adding a little cayenne pepper in at the end.


White chili with (turkey) and white root vegetables


Gluten-free crackers

This week at Renaissance camp was food week.  All the lessons I taught were somehow related to food.  The lesson I taught on Wednesday was about bread; specifically, the science behind bread.  You may wonder what in the world I am doing talking about bread when the title of this particular blog states crackers.  Well, alas, one of the students had a gluten allergy.  After trying for an hour or so to figure out a way to make him gluten-free bread, I decided to try to find a simpler recipe.  Crackers seemed to fit the bill.  So, here you go! 

Gluten-free Crackers


Note:
Crackers are ridiculously easy to make, and once you produce your first batch you'll have little trouble figuring out how to create your favorites. Sprinkle them with salt, sesame seeds, or poppy seeds; work a tiny bit of garlic or herbs into the dough; or substitute whole wheat or rye flour for some or all of the white flour.


Yield: about 4 servings


Ingredients:
1 cup (about 4 1/2 ounces) gluten-free all-purpose flour, plus more as needed
1/2 teaspoon salt
2 tablespoons butter
About 1/4 cup water, plus more as need


Procedure:
1. Preheat the oven to 400 degrees F.


2. Place the flour, salt, and butter together in a large bowl or in the container of a food processor fitted with the steel blade. Blend with a fork or pulse, until the flour and butter are combined. Add about 1/4 cup of water and blend, then continue to add water until the mixture holds together but is not sticky.


3. Roll out on a lightly floured surface until 1/4 inch thick, or even less. Don't worry about over handling-add flour as needed, and keep rolling. Score lightly with a sharp knife or razor if you want to break these into nice squares or rectangles later on. Bake on a lightly floured baking sheet, or directly on baking stones, until lightly browned, about 10 minutes. Cool on a rack; serve warm or at room temperature , or store in a tin.

I am quite proud of the way these came out.  I used Bob's Mill gluten-free All purpose baking flour and it worked fine.  The dough definitely had a different consistency than regular AP flour.  It was actually easier to roll out.  Since these crackers didn't have to rise, I didn't have to worry about the lack-of-gluten rising problem.  If you want to make these just normal crackers, just use regular AP flour.  The one problem that I have always had with this recipe is that the outside parts of the crackers turn brown and crisp but the inside is undercooked (not crisp). What it occurred for me to do (after the fact) was to just cut the dough into cracker shapes ahead of time.  Well, even the softer middle parts were still quite good!  I think my student liked it, too!


Gluten-free crackers.  You can see how the outside gets crisp
but the inside is still slightly underdone


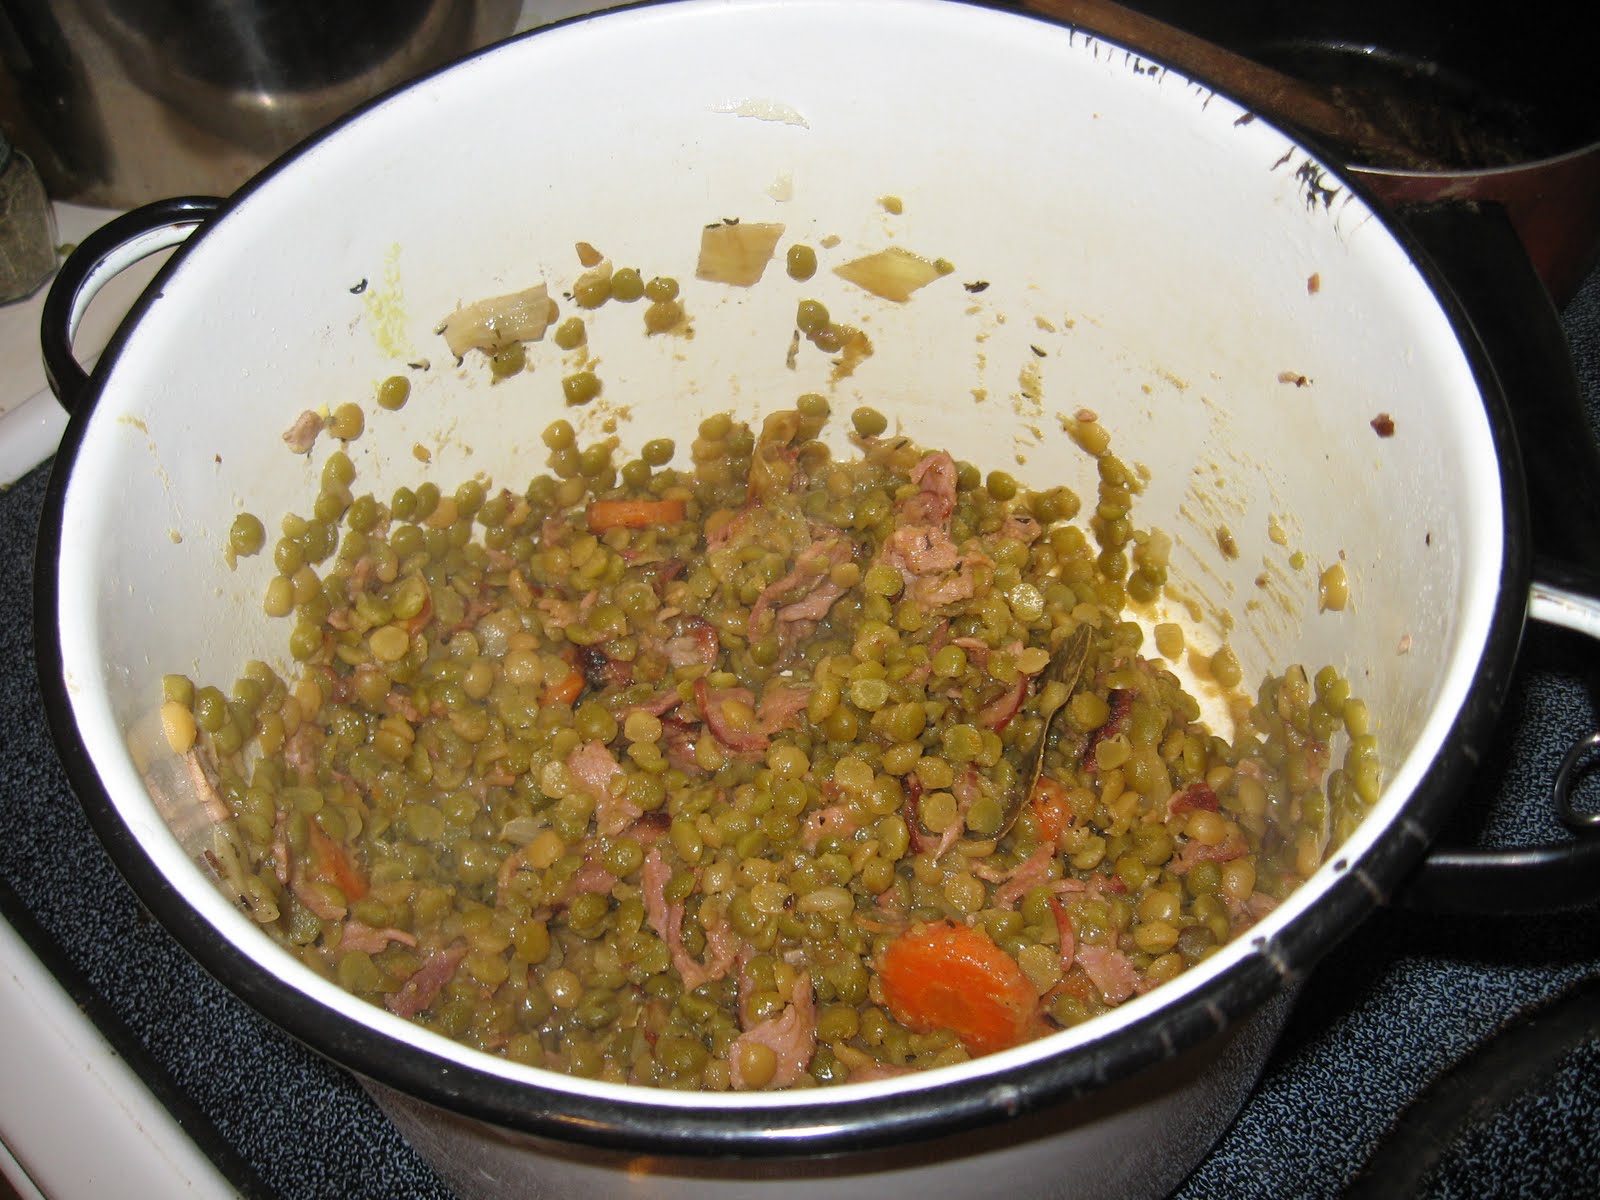
Warm lentils with bacon

This is one of my favorite recipes of all time.  Period.  It is DELICIOUS, nutritious and it has bacon it in!  What more could you ask for?  Every time I make it, it comes out amazing; even when I substitute 5 year old split peas for the lentils!

Warm lentils with bacon

Note:
This dish is largely dependent on bacon for its flavor, so use the best you can find. It is also good with kidney or other red beans; cook them until nearly tender, then drain before adding them to the onion mixture.


Ingredients


•1 tablespoon olive or other oil
•1/4 pound slab bacon, more or less, cut into small cubes
•1 medium onion, chopped
•1 carrot, peeled and diced
•3 to 4 cups chicken, beef, or vegetable stock, or water; or use 1/2 water and 1/2 red wine
•2 cups lentils, washed and picked over
•Salt and freshly ground black pepper to taste
•1 bay leaf
•2 or 3 sprigs fresh thyme or 1/2 teaspoon dried thyme
•About 1 teaspoon red wine vinegar, or to taste
•Minced fresh parsley leaves for garnish

Procedure:1) Place the oil in a medium saucepan and turn the heat to medium. Cook the bacon in the oil, stirring occasionally, until nicely browned, about 10 minutes. Remove the bacon with a slotted spoon and set aside, leaving the fat in the pot.


2) Cook the onion and carrot in the rendered fat over medium heat until the onion softens, about 5 minutes. Stir in the garlic and cook for 1 minute. Add 3 cups of liquid and bring to a boil over medium‐high heat. Stir in the lentils, salt and pepper, and the bay leaf and thyme.


3) Cover partially and cook over medium‐low heat, stirring occasionally, until the lentils are nice and tender, 30 minutes or more; add additional liquid as needed, but do not let the mixture become too soupy.


4) When the lentils are soft, raise the heat and boil off any excess liquid if necessary. Stir in about 1 teaspoon vinegar; taste and add more if necessary. Remove and discard bay leaf. Stir in the reserved bacon just before serving, then garnish and serve.

I definitely recommend adding in the red wine vinegar; it makes a difference.  However, if you don't have any it is still very good without it.  You can substitute in split peas and it turns out just as well.  I can never find slab bacon so I just use the best bacon I can find.  This time around I used turkey bacon which didn't leave a lot of fat behind for the onion to cook in but still tasted great!  This recipe is one of my treats that I fall back on every once in a while.  I would definitely like to make it more often!


Warm (split-peas) with bacon

Homemade granola bars

This recipe is thanks to my friend Keri.  Every time I visit her, she always has the most delicious and healthy snacks.  One thing that really struck my fancy was her homemade granola bars.  These were delicious, satisfied the sweet tooth and, best of all, good for you!

Keri's granola bars

Ingredients:
1/2 cup nut butter
1/3 cup agave nectar or honey
1/4 cup coconut oil
1 cup oatmeal
1 cup rice crispies
1 cup fun goodies

Procedure:
1) Melt liquids in large pan.
2) Stir in dry goodies.
3) Press into glass baking pan and store in fridge.
4) Cut into bars. 

Super easy, super delicious!  A couple of notes from Keri and myself.
1) Serve these cold.  They tend to disintegrate when they warm up (still taste good, though!).
2) Fun goodies can be anything you want; dried fruit, nuts, chocolate chips, etc.
3) If you add in chocolate chips, wait for the liquids to cool or else you will make chocolate granola bars.  I just pressed the chocolate chips onto the surface of the granola bars once they had cooled a bit.
4) You can use 2 cups of whatever you want instead of the oatmeal and rice crispies.

I made mine with sunflower seed butter, agave nectar, dried apricots, sunflower seeds, chocolate chips, dried hibiscus and nuts.  Yum!


Keri's homemade granola bars

A little fuzzy close up of deliciousness

Thursday, July 14, 2011

Cooking for friends (Chicken, Corn, and Chile Chowder and Four Fruit Crisp)

To me, there is nothing quite as rewarding as cooking for other people.  Cooking for myself is just too boring; definitely not worth the effort of making a fancy recipe!  I don't even like to eat alone if I can help it!  Alas, with all the wedding planning that I have been doing I have barely had time to cook for anyone!  This post represents two such times this month when I have!

Chicken, Corn, and Chile Chowder

Ingredients:

4 tbsp olive oil
1 large yellow onion, chopped
2 ribs celery, finely chopped
2 cups corn, cut off the cob, or frozen (I just use a can of corn)
2 cups cooked chicken, boned, skin removed, and diced
2 long green chilies, roasted, peeled, seeded, and chopped
1/2 tsp ground black pepper
2 dashes Tabasco Sauce (I use Cholula)
1 clove garlic, minced
2 cups chicken stock or broth
1 cup half and half

Procedure:

1) Heath the oil in a saucepan, add the onion, garlic, and celery and saute until limp.

2) Stir in the corn, cooked chicken, green chile, Tabasco Sauce, and chicken stock.

3) Cook over low heat until warmed through, add the half and half and continue cooking until hot- but do not let boil.

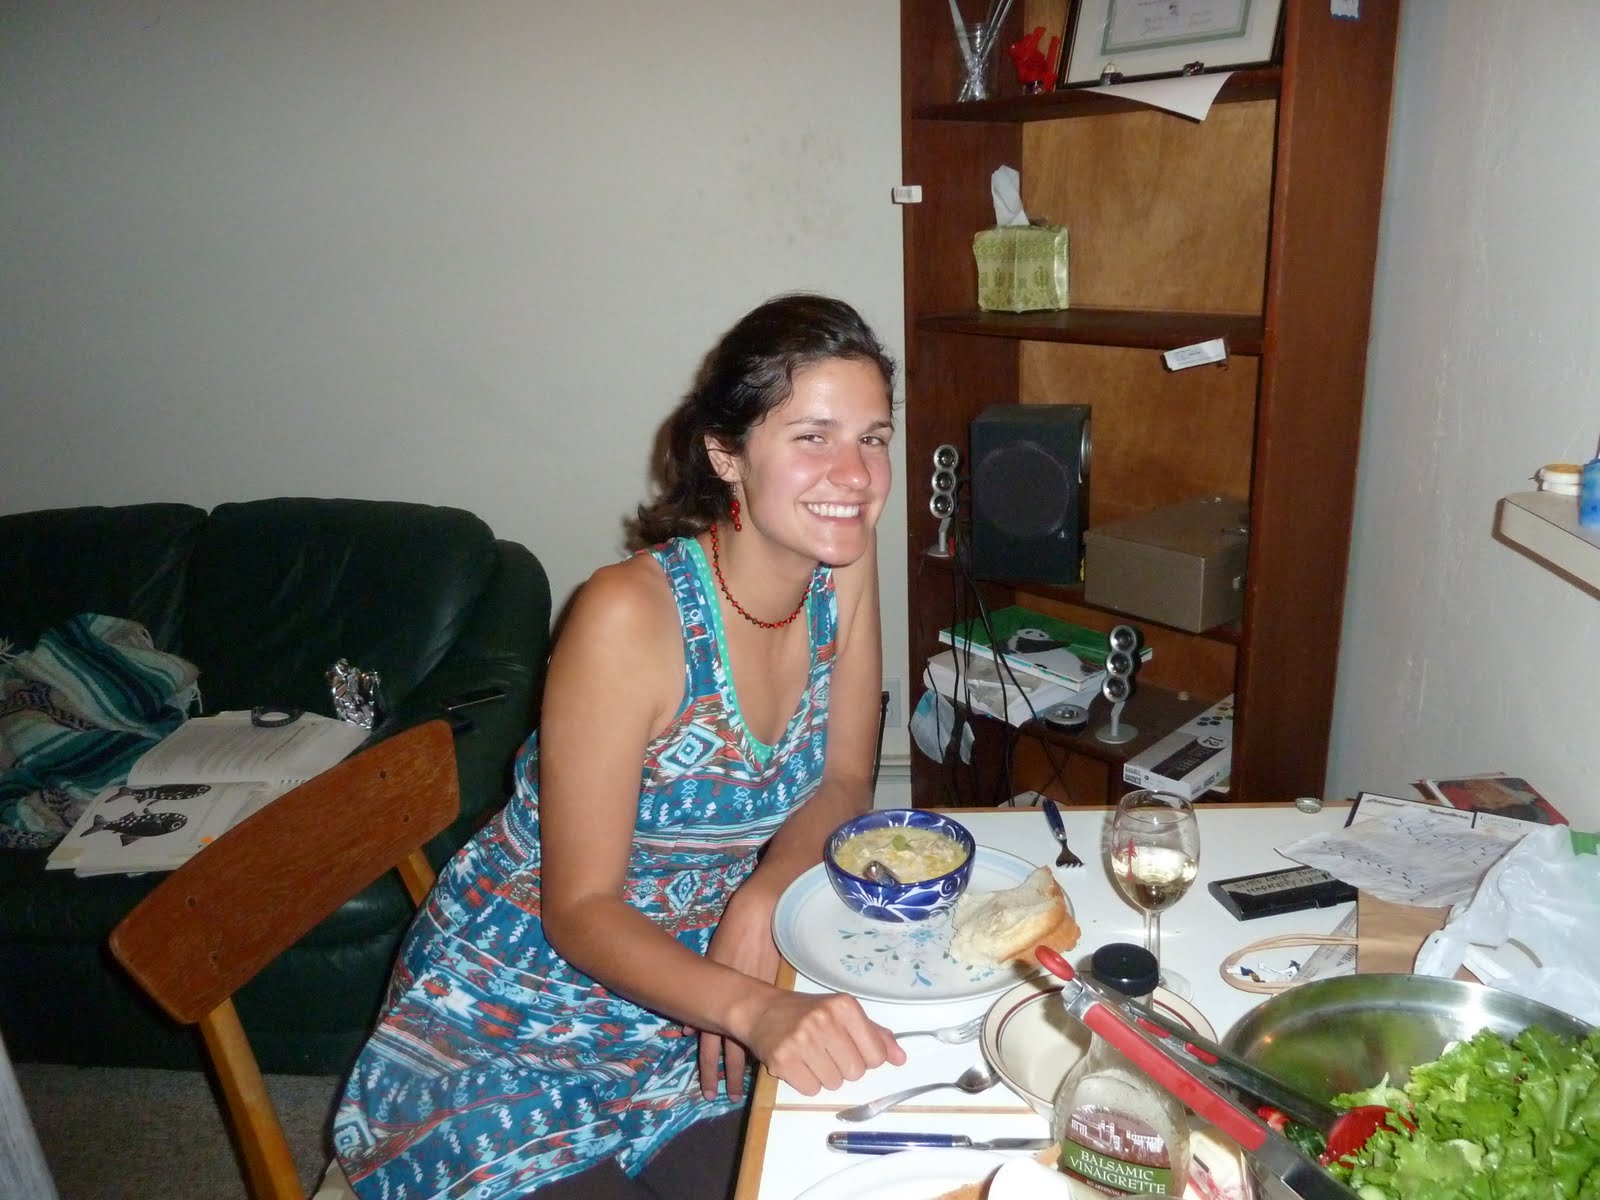
  A very easy recipe and one I've made many times.  This time, it was in celebration of my friend Nicole (Guinea Pig) coming over.  I had leftover half and half so decided to throw this together.  I was lazy and asked GP to bring over a whole rotisserie chicken.  Alas, they didn't have any at the grocery store so she brought over fried chicken instead.  Boy, did we have fun de-skinning that fried chicken and tearing the meat to bits.  Can we help it that some of it ended up in our mouth rather than in the bowl?  Quite an easy recipe.  Definitely make sure to use real green chiles; the canned stuff just doesn't cut it!


Guinea Pig enjoying a bowl of chicken, corn and chile chowder

A delicious and easy soup


Scott and GP

Four fruit crisp

Ingredients:

1 1/2 cups each of four fruits (or use more of one kind)
3/4 cup flour
3/4 cup rolled oats
3 tbsp butter
2 tbsp oil
3/4 cup brown sugar
1/3 cup chopped nuts (optional)

Procedure:

1) Mix together the fruit and pour into a 10" pie pan.

2) Mix everything else together until crumbly.  Evenly sprinkle over the fruit.

3) Bake in a preheated oven at 375 F until fruit bubbles and top is golden brown, about 30 minutes; may take longer if using frozen fruit.

  I have been wanting to try this recipe ever since I read about it.  I figured it would be a perfect way to get rid of the spare berries from the farmer's market that I had sitting around.  When Scott and I got invited over to Amber Claunch's house, I knew this would be the perfect dessert to bring.  I used frozen blueberries, cut strawberries and blackberries for my fruits.  It took a little over 30 minutes (I'd say about 40 min) until it got to the color/consistency that I wanted.  All thought it was delicious!
  Notes from the recipe: Don't have four kinds of berries or fruits? Use more of the same kind.  This recipe works well with fresh, frozen or canned fruit.  Adjust the amount of sugar to the sweetness of the fruit.  List of fruits to use: raspberries, blueberries, marionberries, boysenberries, huckleberries, saskatoons, mulberries, strawberries, sour cherries, peaches, apples.  Another alternative to just mixing the fruit together: The fruits can be cooked with 1/4 cup water 1/4-1/2 cup sugar (depending on the sweetness of the fruit) and 2 tbsp. cornstarch to thicken before baking.

Four fruit crisp (okay, really three fruit crisp)

Scott, Amber Claunch and her boyfriend Dana

Tuesday, June 21, 2011

Cream of Mushroom soup (a.k.a. Cooking for kids)

     I just finished making Cream of Mushroom soup for my summer job at Renaissance camp.  Renaissance camp has nothing whatsoever to do with Renaissance faires despite what everybody thinks when they first hear the name.  Instead, it is an art and science summer day camp for 6-10 year olds.  It is super fun and I am lucky enough to be one of the science teachers there along with Scott (I have been trying to get into Ren camp for years).  Those of you who have known me for a while, know that I love to hunt for mushrooms.  Eating mushrooms is growing on me but is still not my favorite thing to eat (still, I love eating what I find!).  So, over the years, I have become something of a minor mycologist (person who studies mushrooms).  I am very excited to be able to share my knowledge with my students tomorrow when I teach a lesson on mushrooms. At the end, I thought it would be a fun reward to let them have some cooked mushrooms.  After realizing how expensive it is to buy "wild" mushrooms in the store (much cheaper and fun to find them in the wild but, alas, I do not have the time), I decided I would make a cream of mushroom soup with mostly white mushrooms and a few "wild."  Here is the recipe (from allrecipe.com)

Ingredients


5 cups sliced fresh mushrooms
1 1/2 cups chicken broth
1/2 cup chopped onion
1/8 teaspoon dried thyme
3 tablespoons butter
3 tablespoons all-purpose flour
1/4 teaspoon salt
1/4 teaspoon ground black pepper
1 cup half-and-half
1 tablespoon sherry


Directions


1.In a large heavy saucepan, cook mushrooms in the broth with onion and thyme until tender, about 10 to 15 minutes.
2.In blender or food processor, puree the mixture , leaving some chunks of vegetable in it. Set aside.
3.In the saucepan, melt the butter, whisk in the flour until smooth. Add the salt, pepper, half and half and vegetable puree. Stirring constantly, bring soup to a boil and cook until thickened. Adjust seasonings to taste, and add sherry.

     Needless to say, I emitted the sherry.  I was a little nervous when it came to purying the mixture as my blender has a major leak.  I ended up using my food processor as I could not find the top to my blender and found out that it works great!  I had to do it in batches, but it really blends it down well.  And it is a lot easier to do this than to work the food mill.  The results?  Well, I haven't had much (I want to save most of it for the kids), but I surprisingly really like it.  And I don't usually like mushrooms or cream of mushroom soup (unless it is mixed in with something else).  The only thing I did differently was cook the mushrooms and onions in a little butter to soften them and release some flavors before I added the liquid.  I didn't measure the mushrooms or onion, just eyeballed it.  Soup is nice like that.  Plus, I doubled the recipe to hopefully feed 32 kids.  Definitely try it on your own!

(No picture as I left my camera in the car)

Sunday, June 19, 2011

Berry Muffins

  This post is brought to you by Derek William and Lynnelle Wing for sharing their honey.  Lynnelle and Derek have been beekeeping for the past year or so and generously gave some honey to Scott and I on thursday.  After receiving this delicious honey, I decided to search around for a recipe in which I could use the honey to honor them.  I kid you not, this is the most delicious honey I have ever tasted!  Yum!  So, with extra berries almost rotting away in the fridge, I decided on this one:

Berry Muffins (From Simply in Season by Mary Beth Lind and Cathleen Hockman-Wert)

Ingredients:

1 1/2 cups whole wheat flour
1 cup rolled oats
1 tbsp baking powder
1/2 tsp salt
1 tsp cinnamon
1 egg
1 cup milk
1/4 cup oil (I used Olive oil)
1/4 cup honey
1 1/2 cups fresh or frozen berries ( I used cut up strawberries and blueberries)

Procedure:

1) Mix all the dry ingredients together
2) In another bowl, mix all the wet ingredients (except the berries).
3) Fold in the wet ingredients into the dry ingredients and mix until just moistened
4) Fold in the berries.
5) Fill well greased muffin tings 2/3 full.  Sprinkle top with cinnamon sugar.  Bake in preheated oven at 400 F for 15-20 min

     The recipe didn't include how you told the muffins were done.  Fortunately, I have made muffins before and knew that if you insert a toothpick into the muffin and it comes out clean it means that it is done.  The muffins themselves came out okay.  They were a little bitter to my taste for some reason, although the chunks of strawberries were delicious!  Looking at how little they rose (see pictures), I would say I probably need new baking powder as well.  But, at least they were relatively healthy as muffins go!  They were also a great thing to have for breakfast or a snack and lasted quite a while (the last ones were eaten today).  Thanks again to our friends Derek and Lynnelle and their bees, of course!


Berry muffins

A close up of whole wheat strawberry blueberry goodness