Monday, April 15, 2019

Chocolate sheet cake for Annette

     One of my co-workers (Annette) is leaving after working at The Tech for nearly five years.  To say thank you and as a parting farewell, I wanted to bake a cake for her.  I (not so sneakily) asked her what kind of cake she liked the best, and she said chocolate.  Not being the hugest fan of chocolate cake, I had a bit of a hard time figuring out which recipe would be the best to feed both her and our other co-workers for her final day celebration.  Scanning through my multiple cookbooks, I decided to go with a chocolate cake recipe from The Complete America's Test Kitchen TV Show cookbook.  I inherited this cookbook from our former boss, so I thought it seemed especially appropriate.

So rich and chocolaty!

Chocolate Sheet Cake with Easy Chocolate Frosting (from The Complete America's Test Kitchen TV Show Cookbook)

Ingredients:

For the Cake:

12 tbsp (1.5 sticks) unsalted butter
3/4 cup dutch processed cocoa powder
1 1/4 cup AP flour
1/2 tsp baking soda
1/4 tsp table salt
8 oz semisweet chocolate, chopped
4 large eggs, at room temperature
1 1/2 cups granulated sugar
1 tsp vanilla extract
1 cup buttermilk

For the Frosting:

1/2 cup heavy cream
pinch table salt
1 tbsp light or dark corn syrup
10 oz milk chocolate, chopped
1/2 cup confectioners sugar
8 tbsp (1 stick) cold unsalted butter, cut into 8 pieces

Procedure for the cake:

1) Adjust an oven rack to the middle position and heat the oven to 325 degrees F.  Grease a 13" x 9" baking pan, then line the bottom with parchment paper.
2) Sift together the cocoa, four, baking soda, and salt in a medium bowl; set aside.  Melt the chocolate and butter in a heatproof bowl set over a saucepan filled with 1 inch of barely simmering water, stirring occasionally until smooth.  Whisk together the eggs, sugar , and vanilla in a medium bowl.  Whisk in the buttermilk until smooth.
3) Whisk the chocolate into the egg mixture until combined.  Whisk in the dry ingredients until the batter is smooth and glossy.  Pour the batter into the prepared pan; bake until firm in the center when lightly pressed and a toothpick inserted into the center comes out clean, about 40 minutes, rotating the pan halfway through the baking time.  Let the cake cool completely in the pan, set on a wire rack, about 2 hours.  Ruin a small knife around the cake and flip the cake out onto a wire rack.  Peel of f the parchment paper, then flip the cake right side up onto a serving platter.

Procedure for the frosting:

4) Heat the cream, salt, and corn syrup in a microwave-safe measuring cup on high power until simmering, about 1 minute, or bring to a simmer in ta small saucepan over medium heat. 
5) Place the chocolate in a food processor.  With the machine running, gradually add the hot cream mixture through the feed tube; process for 1 minute after the cream has been added Stop the machine; add the confectioners sugar and process to combine, about 30 seconds.  With the machine running, add the butter through he feed tube one piece at a time; process until incorporated and smooth, about 20 seconds longer.
6) Transfer the frosting to a medium bowl and cool at room temperature, stirring frequently, until thick and spreadable, about 1 hour.  Spread the frosting evenly over the top and sides of the cake and serve.

The final product with sprinkles

     This recipe was much easier to make than I thought it would be, although I will admit I did make a huge mess while making it.  I ended up being a little lazy/pressed for time and had parchment paper not only on the bottom of the pan but around the sides as well.  This actually made the cake really easy to remove from the pan (no knife needed!), so I'm glad I ended up doing it that way!  The cake was very rich, chocolaty, dense (but not too dense), luscious, and delicious!  Best of all, Annette liked it (she had two slices when I couldn't even finish one!) and was really appreciative that I made it for her.  We'll miss you, Annette! 


Monday, March 25, 2019

Dolsot Bibimbap

Dolsot Bibimbap

     Years and years ago, Scott and I accidentally discovered the Korean dish dolsot bibimbap (dolsot means stone pot and bibimbap means mixed rice) while looking for a pho place before (or after?) a concert at the Shoreline Amphitheater in Mountain View, CA.  We saw a place called "Sunny Bowl" and mistakenly thought that they serve pho there.  We went inside and found out that, instead of serving pho, this family owned place was Korean, not Vietnamese, and specialized in a delicious dish called bibimbap.  Never having heard of bibimbap before, let alone eaten it, we didn't quite know what to do.  Fortunately, we were helped out by our very nice waitress (the daughter of the owners, if I recollect correctly) and figured out how to order bibimbap and enjoyed it at once.  Scott's favorite part was how the meal was served in a super hot bowl and how he could use that bowl to sear the raw tuna he got in his dish.  I fell in love with the delicious flavors of the dish and the homemade kimchi.  After seeing how much Scott enjoyed it then (and continued to enjoy it every time we went over the years), I thought that it might be nice to try to create this dish home for him.  After discovering that there is a Korean grocery store relatively close to where I live and visiting it on an impulse yesterday, I knew that today was finally the day to make Scott's bibimbap dreams come true.

Dolsot Bibimbap (inspired from a recipe in Cook Korean! by Robin Ha)

Ingredients:

8 oz spinach
8 oz sprouts
4 oz dried fern*
1 medium zucchini
8 oz shiitake mushrooms
1 carrot
salt
1 teaspoon soy sauce
5 teaspoons toasted sesame oil
2 cups cooked sushi rice
4 eggs
bulgogi**
toasted sesame seeds
toasted seaweed, crushed

For the sauce:

1/3 cup gochujang
3 tablespoons rice vinegar
2 tablespoons sugar
1 tablespoon toasted sesame oil

Procedure:

1) Soak the dried ferns the night before.
2) Cook the sushi rice.
3) Set a large pot of water to a boil.
4) While water is boiling, start cutting up your vegetables.  Cut the zucchini in half lengthwise and then cut into 1/4 inch pieces.  Remove the stem from the mushrooms and cut them into 1/4 inch pieces.  Cut the carrot into small matchstick pieces.
5) Once the water is boiling, add some salt and separately blanch the spinach, sprouts, and carrot.  When they are done, season them separately with 1/2 teaspoon salt and 1 teaspoon of the toasted sesame oil.
6) Boil the reconstituted ferns.  Drain and cut them into 2 inch long pieces.
7) Saute the ferns with 1 teaspoon of sesame oil and 1 teaspoon of soy sauce.
8) Separately saute the zucchini and mushrooms with salt and a dash of sesame oil.
9) Cook the bulgogi.
10) Cook the eggs sunny side up.
11) Mix the ingredients for the sauce together.
12) Heat up to 4 of the pots over high heat with 1/2 tablespoon water and 1 teaspoon of sesame oil.  Wait until you see the oil shimmering and then add in the rice and vegetables/meat.  When you hear the rice start to pop, lower the heat to medium and cook for 4 more minutes.
13) Add the egg on top and garnish with crumbled seaweed and sesame seeds.  Serve with the sauce.

Katie's notes:

*I wasn't the biggest fan of the dried ferns, and ended up using about half of what I reconstituted by soaking.  The original recipe calls for gosari, the stems of young ferns which are found in the refrigerated grocery store of Korean grocery markets.  However, at the time I went shopping, I didn't find them so bought the dried ones instead.  I think it might have been better with the already prepared ones.
**Bulgogi can be purchased from Korean grocery stores.

Assembling the ingredients
Boiling the reconstituted ferns

Heating up the bowls and getting ready to assemble the bibimbap

Almost ready

Everything is all put together

My not quite as beautiful bowl

Scott's beautiful bowl

Mixing everything together and enjoying!


  This dish did come out delicious.  It was easier to make than I had expected, but it was a pain in the butt with all of the parts of the meal cooking separately and then having to be stored separately.  I didn't get my rice quite as crispy as I would have liked, but I also played it a bit cautious and heated the bowl for two minutes, instead of the recommended four.  I loved the sauce and I loved having this meal with some kimchi on the side.  Thankfully, after all that work, I have enough leftovers to easily have this dish for dinner tomorrow.  Best of all, Scott absolutely loved it and loved me for making it!  Yum!

Monday, November 19, 2018

Scotch eggs


     After going to the Renaissance Faire this year with my friend Lyz, she and I made a plan to visit each other again soon.  Since cooking with friends is always fun, we made a plan to have a cooking date and, inspired by our recent visit, decided to make Scotch eggs.  Scotch eggs, if you've never heard of them, are hard boiled eggs covered by sausage and breadcrumbs and then fried.  They are delicious!  Since one of my favorite book series/show, Outlander, takes place in Scotland, I decided to use my Outlander Kitchen cookbook by Theresa Carle-Sanders for this Scottish recipe.

Scotch eggs from Outlander Kitchen by Theresa Carle-Sanders

Ingredients:

7 large eggs
1/2 cup all purpose flour
1/2 tsp kosher salt
pinch of cayenne pepper
1 1/2 cups panko breadcrumbs
1 1/2 lbs pork sausage 
vegetable oil

Procedure:

1) In a large saucepan, cover 6 eggs with cold water and top off with an extra inch.  Bring to a full rolling boil over high heat, remove from the heat, and cover for 7 minutes.  Drain and cover the eggs with ice water until cool to the touch, then peel them.
2) In a small bowl, stir together the flour, salt, and cayenne pepper.  In another bowl, beat the remaining egg with 1 teaspoon of water to make an egg wash.  Fill a third bowl with breadcrumbs.
3) Flatten 4 ounces of sausage into a patty in the palm of your hands, and wrap it around a peeled egg.  Repeat with the remaining sausage meat and eggs.  Roll the sausage-covered eggs in the flour to coat lightly, then in the egg wash, and finally in the breadcrumbs to cover evenly.
4) In a large frying pan, heat 3 inches of vegetable oil to 350 degrees Fahrenheit.  Fry the Scotch eggs until golden, turning occasionally, about 3 minutes.  Drain on paper towels.  Alternatively, bake in a 400 degrees Fahrenheit oven until light golden and crispy, 25-30 minutes.
5) Serve warm or cold.  Store leftovers up to 3 days in the fridge.

Peeling the eggs and looking good doing so!
Cooking with friends is the best!
We've got our egg station all ready to go
Waiting for the oil to come up to temperature
We're frying, baby!!
Eating our (now very crisp) scotch eggs!

     Although this recipe was definitely a lot of work, it went totally fast with good company and an extra pair of hands!  The recipe was definitely delicious, but a bit tricky.  The first time we went to eat our scotch eggs, we found that the sausage was still undercooked.  We had to re-fry the eggs for another three to six minutes before everything was cooked through!  I took a while since we fried the eggs in batches of three and had to wait for the oil to get back up to temperature each time.  All together, we ended up frying in five separate three minute batches.  
  This was my first time deep frying something and it wasn't as terrifying as I thought it would be.  Once everything did cook up, it was delicious!  Crispy on the outside with a softer egg/meat on the inside.  It kind of reminds me of an Egg McMuffin without any muffin.  I would definitely make these again, but would change things around slightly.  I think I would start heating up the oil right away, as it took quite a bit of time to come up to temperature.  I would also be more careful about exactly measuring the sausage (we just eyeballed it) and would definitely make sure that the sausage was spread more thinly across the egg; it seemed to be the big bulges of sausage that were raw.  Come to think of it, maybe I'd even bake it and save myself all of the frying trouble.  Either way, definitely worth it as a fun treat!

Monday, October 29, 2018

Instant Pot Zuppa Toscana


    Welcome back!  I thought I couldn't let this year end without at least one recipe.  I've actually been using this blog a lot, but just as a source for recipes for myself.  My poor hubby has been sick for a little over two weeks now, so I thought that a soup would be just the thing to warm him up.  I've been seeing this Zuppa Toscana recipe make the rounds on the Insant Pot Facebook group, and have always wanted to try it.  I made it for him today and I am sure glad I did!

Instant Pot Zuppa Toscana 
from https://www.simplyhappyfoodie.com/instant-pot-zuppa-toscana-sausage-potato-soup/

Ingredients:

3 Strips of Thick Cut Smoky Bacon, chopped
2 lbs Ground Hot Italian Sausage (use 1/2 hot and 1/2 mild if you don't like much spice)
1 Large Onion, chopped
1 tsp Oregano, dried
5 Cloves of Garlic, pressed or minced
4-6 Medium Potatoes, halved and sliced 1/4 inch thick
6 cups Chicken Broth, low sodium
1 Bunch of Kale chopped, with rib removed
1 1/2 cups Heavy Cream

Procedure:

1) Turn the Instant Pot to Sauté mode, and add the chopped bacon. Cook, stirring occasionally, until the bacon renders out most of its fat. Remove and set aside.

2) Add the sausage and brown it, stirring a few times. If you can get a good browning on it the flavor will be even better!

3) Remove everything, leaving behind 2 tsp of the fat (enough to cook the onions).

4) Add the onions and oregano.  When the onions start to look translucent, add the garlic and stir.

5) Pour in the broth, stirring, and make sure you scrape the bottom of the pot to get up any brown bits (deglaze).

6) Add the potatoes and sausage, and add the bacon back in.  Check to make sure the contents don't go over the Max Fill line marked on the inner liner.  Cancel Sauté mode.

7) Close the lid, set the steam release knob to Sealing.  Set to Manual (or Pressure Cook), and choose 5 minutes (High Pressure). The pot will take several minutes to come to pressure.

8) After cooking cycle ends, allow a 10 minute NPR (Natural Pressure Release). Do a controlled Quick Release for the rest of the steam, and when the pin in the lid drops, open the lid.

9) Add in the kale, (or thawed spinach, if using) and stir well. Cover and let heat through for 5 minutes or so to soften the kale. If using spinach, just stir it in and proceed to the next step.

10) Stir in the heavy cream and serve.


  This was a lovely recipe.  It is apparently inspired by Zuppa Toscana (sausage potato soup) that they serve at Olive Garden.  Having never had the soup at Olive Garden, I can't tell you how it compares.  I can, however, tell you that the soup is very delicious.  It is hearty, has a nice contrast in texture between the potatoes, kale, and sausage, and a lovely taste.  I used all hot italian sausage and found it spicy but not too spicy.  The original notes from the recipe say that you don't need to add in more salt as the sausage is already salty enough.  I did indeed find that to be the case.  It goes lovely with a nice side of bread and some lovely company.  The sick hubby loved it too!

Tuesday, December 5, 2017

Smoked Sausage & White Bean soup (Instant Pot)


     It's finally winter time in Northern California.  After an unseasonably warm fall, the weather is starting to get chilly and the days are growing short.  It makes one want to curl up next to a fire with a good book, comfy clothes, and, of course, a nice hot bowl of soup.
     I first discovered this recipe when somebody shared it on the Instant Pot community Facebook group (I have, of course, joined that group!).  It looked wonderful and delicious and just the thing for lovely winter weather (it almost makes me wish that we had snow here).  After saving the recipe for weeks, I was finally inspired to make it this week as the weather turned cold plus I had most of the ingredients at home.  Here is the recipe:

Smoked Sausage & White Bean Soup, Instant Pot from https://frugalhausfrau.com/2017/11/05/smoked-sausage-white-bean-soup-instant-pot-or-stove-top/

Servings: 8
Time: 1 hr 15 min + time to soak the beans 

Ingredients: 

1 pound white beans, soaked overnight or quick soaked, see notes, below
1 tablespoon olive oil
14 ounces smoked sausage, sliced on bias into 3/8” slices
1 large onion, diced
3 cloves garlic, minced
3 carrots, peeled & diced
2 stalks celery, diced
3/4 teaspoon dried thyme
3/4 teaspoon dried oregano
2 teaspoons chopped fresh parsley
1 bay leaf
6  to 6 1/2 cups broth; low sodium vegetable or chicken preferred
1 1/2 teaspoons salt
1/2 teaspoon black pepper

Directions: 

1) Turn the Instant Pot on to Saute. Add a tablespoon of oil. When hot, add the sausage and cook until slightly browned. Remove sausage from pot and set aside.

2) Add onions and saute until softened, then add in the garlic and stir until garlic is fragrant, a minute or two. Add the carrots & celery.

3) Rinse the beans and add them to the pot, along with thyme, oregano, parsley, bay leaf, broth, salt and pepper and the reserved sausage.

4) Set to Pressure and cook on high for 25 minutes, using the quick release when the time is up. Test several beans; if not tender, replace lid and bring back up to pressure and cook an additional five minutes, again using the quick release.

5) Thicken the soup, if desired, by mashing some of the beans in the pot or remove about a cup of beans and mash to a paste, then stir back into the pot.

Notes:

To soak the beans overnight: Rinse and sort through beans, discarding any damaged beans or debris. Cover with at least two inches of water and let soak for 12 hours or more. Drain and rinse, proceed with recipe.
To quick soak in Instant Pot: Rinse and sort through beans, discarding any damaged beans or debris. Add to Instant Pot along with 2 teaspoons salt and 8 cups water. Set to saute (high) and bring to a boil. Immediately place on lid and lock, use the manual function to set to high pressure and two minutes of time. Drain and rinse, proceed with recipe.

     I mostly made the soup as is.  We used a Kentucky Bourbon sausage instead of a smoked sausage.  This worked just fine and was absolutely delicious.  I did pre-soak my beans overnight in the fridge.  Unfortunately, I put them in what I thought was an adequate sized mason jar but turned out to be too small.  Who knew that the beans would absorb all the water and lodge themselves in the jar?  I've never had such a difficult time getting anything out of a jar!
     The soup, however, was simply amazing.  Savory, hearty, and flavorful.  I loved the contrast between the squishy but not too squishy beans (at the perfect texture) and the firmer sausage.  It goes wonderfully with some bread.  Yum yum yum!  A perfect soup for a fall/winter night!

Sunday, June 11, 2017

Fruit and yogurt popsicles

     Popsicles are one of the things I've always wanted to try making but never quite got around to. So, when I went to Sur La Table to spend a gift card last month, I was very happy to see a popsicle maker. We've been enjoying popsicles ever since!

Yogurt and mango popsicle

Fruit and yogurt popsicles from http://www.womansday.com/food-recipes/food-drinks/recipes/a12330/fruit-yogurt-swirl-pops-recipe-wdy0714/

Ingredients:
1 lb. fresh or frozen fruit
2 tbsp. granulated sugar (only if using fresh fruit)
2 c. vanilla yogurt
Ice pop molds (see Note)
10 ice pop sticks
Procedure:

1) Using a food processor, purée the fruit (and sugar, if using fresh fruit) until smooth. Pour into a resealable bag or squeeze bottle.
2) Spoon the yogurt into a resealable bag or squeeze bottle. If using resealable bags, snip off a corner from each. Alternately squeeze the yogurt and purée into the molds to create swirls. Insert sticks according to directions and freeze overnight.


Popsicles in the freezer

     This recipe is super easy.  We've enjoyed popsicles with fresh cherries, strawberries, etc. etc.  What a delicious and healthy snack!!

Homemade yogurt in an Instant Pot


Homemade yogurt with granola and fresh fruit
     This is a recipe that Scott and I have been making for many many months but one which I never blogged: Homemade Yogurt. As I'm sure I've said before, I absolutely love my Instant Pot! One of the things that attracted me to it initially was its yogurt feature, which makes making homemade yogurt an absolute breeze. Read on to find out how much of a breeze:


Homemade Yogurt in an Instant Pot


Ingredients:

Half-gallon whole milk (note you can make yogurt with any quantity of milk, just keep the proportions the same)

2 tablespoons Yogurt starter (either leftover yogurt or whey from your previous batch or store bought yogurt that says "active cultures")


Equipment:

Instant Pot (I have an Instant Pot DUO60 which has the yogurt feature)

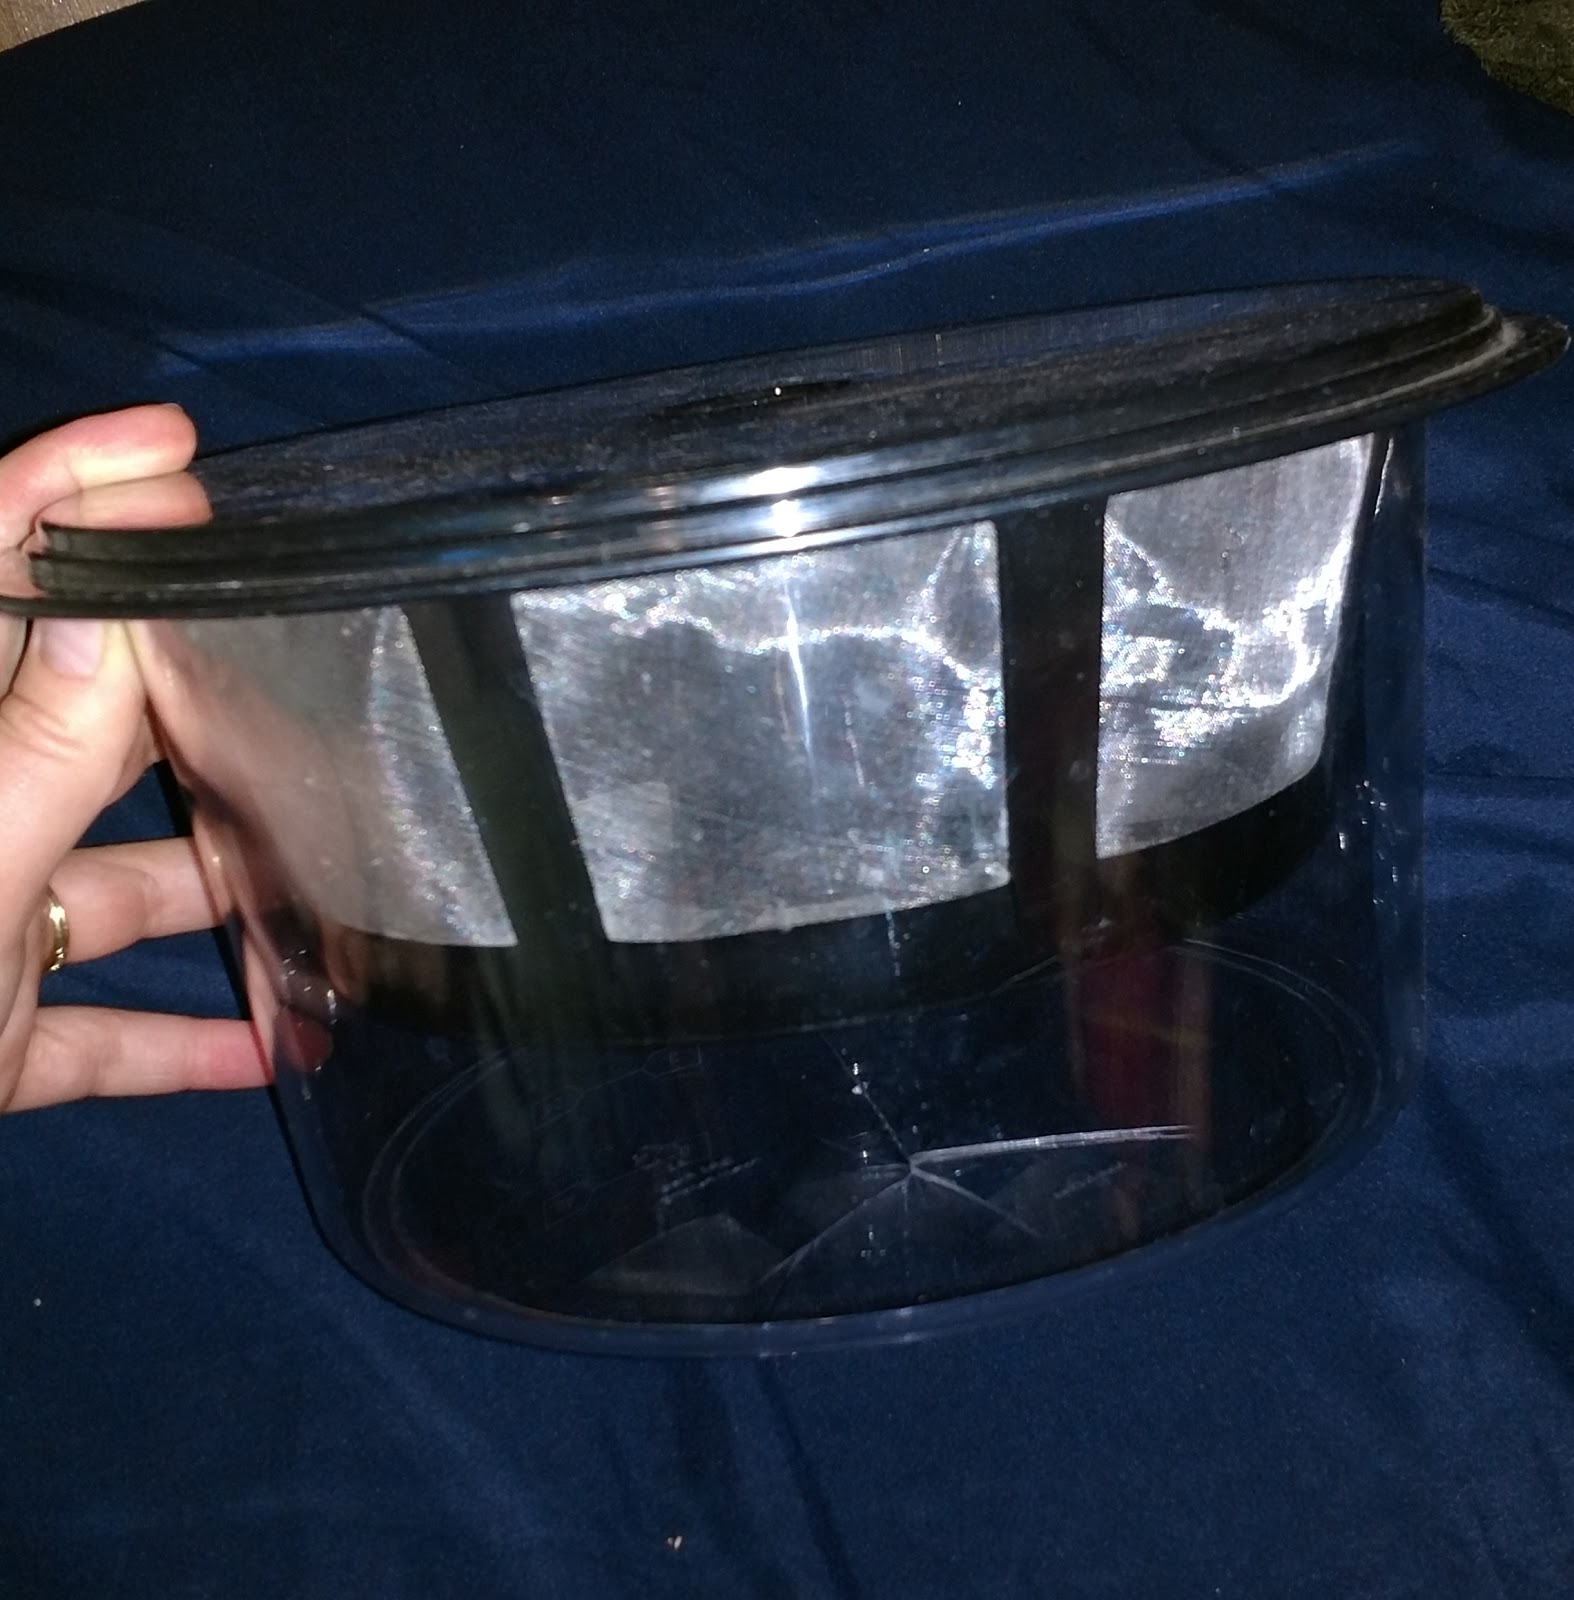
Thermometer (I use an Infrared thermometer)

Yogurt strainer, optional (I use a Euro Cuisine Greek yogurt maker)


Procedure:

1) Add half-gallon of whole milk to Instant Pot. Put the lid back onto the Instant Pot. If using the original lid, don't worry about having the knob on "sealing" or "venting." I'm pretty sure you could also do this with a glass lid.


Adding in the milk

2) Push the Yogurt button and then quickly hit the Adjust button. Your Instant Pot now should saw boil.


Heating the milk

3) Let the Instant Pot do its thing. It heats the milk up to 180°F. This helps to make a thicker yogurt.


4) Let the hot milk cool until it reaches 110°F. This is the perfect incubating temperature. I often times remove the pot and put it outside to make it cool faster.


112°F. Close enough...


5) Once it reaches the perfect temperature, add two tablespoons of your yogurt starter. Mix well. If you removed the pot to let it cool down faster, put it back into your Instant Pot. Put the lid on and hit the yogurt button. It will initially show "Yogt" and then it will start counting up. It incubates the yogurt/milk mixture for eight hours. I often times start the yogurt making process before I go to sleep and let it incubate overnight.


Pushing the Yogurt button will initially show "Yogt"


6) Eight hours later, remove the lid and stir. Voila! Fresh yogurt! You can either enjoy it straight from here (I usually like to cool mine down first!) or perform the optional step of straining it if you like thicker yogurt (i.e., Greek style yogurt).  I like to put mine in a mason jar with fruit and granola as an easy on the go breakfast.


Fresh yogurt the next morning


Optional yogurt strainer


Yummy!!